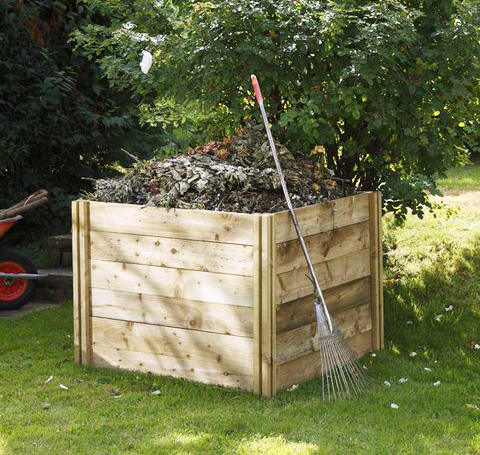
It’s probably the most reasonable trend we could think of right now. Composting has turned into an idea in the manner of healthy living tendencies, and actually it is probably the most reasonable thing you could follow as a way of dealing with your natural garbage and food leftovers.
And since there is no need to buy composter we recommend you build it for yourself. It’s a DIY activity which will teach you some valuable skills and put some base for your future using of the so called “device” for composting.
Building your own DIY composter is an easy way to save money on garden supplies and keep materials out of the landfill.
Let’s say it’s an easy one. Many DIY compost bins can be created from typical household items, which makes them absolutely affordable. Construction methods vary from simple to complex and the materials which can be used are wood, brick, straw, plastic, and wire. Stationary bins are easy DIY projects if you remember the basic elements needed for compost to thrive: it’s moisture, oxygen, and warm temperature as well.
Materials
Most of the materials for building yourself a composter are from wood. Wooden pallets are great for this occasion, because they can be very easily transformed into the form you need. You will need also some strong wire. For the actual building there are plenty of videos, scattered around the internet which could be useful.
The composter could be build and dig into the ground for saving space purposes. Nevertheless if you decide to build your composter on the ground there is the possibility to remove its location if needed. The bin can be with different size though. Everything depends of your plans of usage.
Ensure a single lid which has adequate spacing between wood slats to capture a sufficient amount of water. The lid can be reinforced by another wooden slat to distribute the weight so that a single wooden plank does not buckle with continued use, and a cord or chain can optionally connect the lid and frame to make the lid easier to close.
The best part is that actually you could decorate the whole bin in order for it to have a distinctive and pleasant outlook. Use some other planks of wood, or bricks. Arrange the bricks in manner and you will get a special look, which will add a native look for your composter.
The process
It’s not a short process composting the stuff you throw out. The results come in about two and nine months. You will need to gain access to the base of the heap to take out the crumbly, fully decomposed material, in order to use it in the garden. You can add an access hatch at the bottom of the container.
Materials suitable for composting
It’s a long list actually. But basically it can be reduced and categorized generally as either brown waste or green waste. Although all organic matter will compost, it is advisable not to compost items that may attract vermin or disease.
Example of green waste for composting are as the name suggests. This includes all types of green leafy garden waste and other types of fast-rotting waste material as well. All these items have a high nitrogen content. Such are fresh grass, nettles, flowers, vegetable and fruit peelings, weeds, tea leaves etc.
The so called brown waste for composting consist of slower-rotting items that have a high carbon content. Such as dead of fallen leaves, shredded paper, coffee grounds and filters, cardboards, woody materials, sawdust etc.
A lot of other materials can be composted. Egg shells are great for the task. Believe it or not- hair is compatible for the task. 100% of wool and cotton products as well.
Keep in mind the things you do not compost. Although all organic material breaks down, avoid some products as cooked or raw meat and fish, dog and cat feces, cat litter, glossy magazines or glossy papers generally, barbecue coals and coal ash.


