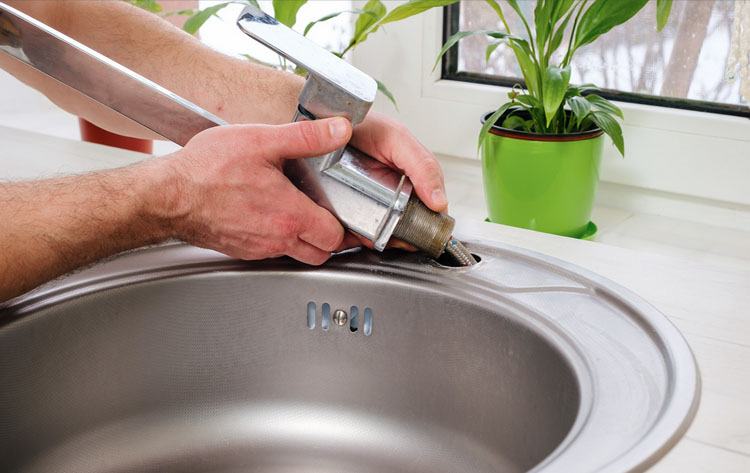
Replacing a kitchen faucet can seem intimidating, but it’s actually quite manageable. Whether you are upgrading to a new style, fixing a leak, or modernizing your kitchen, learning how to replace a kitchen faucet can save you money and give your kitchen a fresh look.
This comprehensive guide will take you step-by-step through the entire process of how to replace kitchen faucet, from removing the old faucet to installing a new one, making it a DIY project you can confidently tackle on your own.
Replacing your own kitchen faucet brings several benefits, including avoiding costly plumber bills and giving you the freedom to choose the exact style that suits your space.
With proper guidance and preparation, this can be a highly rewarding home improvement project. Let’s dive into everything you need to know to get started on your faucet replacement journey.
Tools and Materials Needed
Before you begin, gather all the tools and materials needed for this project. Having everything ready will make the process smoother and more efficient.
Tools Required
- Adjustable Wrench – For loosening and tightening nuts;
- Basin Wrench – This specialized wrench is useful for working in tight spaces under the sink;
- Pliers: – For gripping and twisting;
- Teflon Tape – To prevent leaks in threaded connections;
- Bucket and Towels – To catch any water that might spill during disassembly;
- Flashlight or Portable Work Light – To ensure you have good visibility under the sink;
- Putty Knife or Scraper – To remove old plumber’s putty or residue from the sink.
Materials Required
- New Kitchen Faucet – Make sure to choose a faucet that fits your sink’s mounting holes;
- Plumber’s Putty – To create a watertight seal;
- Replacement Supply Lines – If the old ones are worn out.
These tools and materials will help you replace your kitchen faucet without running into major problems. If you don’t have a basin wrench, you might be able to rent one from a local hardware store.
Additionally, replacing the supply lines is recommended if they are old, as this helps prevent future leaks.
Preparing Your Work Area
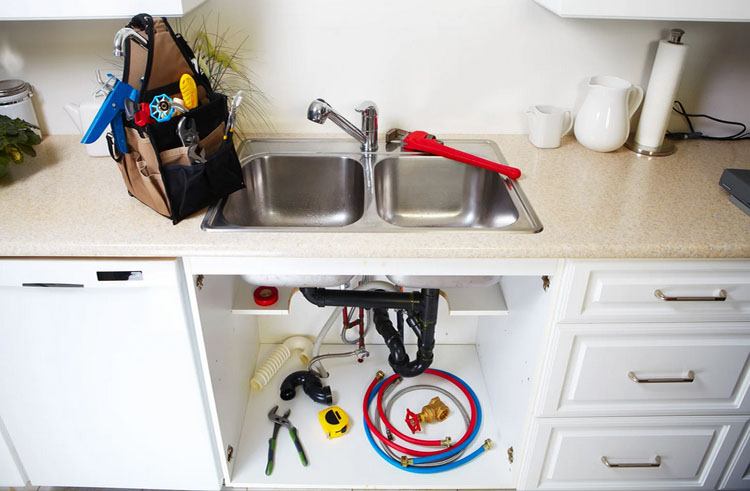 Preparation is key to making sure your faucet replacement goes smoothly.
Before you begin, take these steps to ensure you’re ready:
To begin, clear out everything under your sink to give yourself ample room to work. Keeping an uncluttered space is essential since this will be your primary workspace for the entire process of how to replace kitchen faucet.
Next, place towels or a bucket under the sink to catch any water that may leak when you disconnect the old faucet. Water leakage is almost inevitable during the replacement, and this precaution will help you avoid a mess.
Proper lighting is vital, so use a portable work light or headlamp to see every component clearly. You will be working in a small, enclosed, and often dark space, so consider using a portable work light or a headlamp to ensure every component is visible.
Lastly, it can be helpful to have an assistant for certain parts of the process, especially if you need to hold something steady while connecting the new faucet or handling tools. Safety is paramount—make sure the area is dry, and keep tools organized to prevent any tripping hazards.
Turning Off the Water Supply
The first actual step to replacing a kitchen faucet is turning off the water supply. Failing to turn off the water can lead to an unwanted, messy situation.
- Locate the Shut-off Valves – Underneath the sink, you will typically find two shut-off valves—one for hot water and one for cold. Turn both valves clockwise to close them, which are usually located at the back of the cabinet;
- Turn on the Faucet – Turn on the kitchen faucet to release any water remaining in the lines. This will prevent water from spilling when you disconnect the supply lines. Allow the water to completely drain out until there is no more dripping;
- What if Shut-off Valves are Stuck? – If the valves are stuck or don’t work, you may need to turn off the main water supply to the house. You can use penetrating oil to loosen stuck valves, but be cautious. If you find that the valves are not working at all, consider replacing them to avoid issues in the future.
Removing the Old Faucet
With the water supply off, it’s time to remove the old faucet. This is usually the most challenging part for many DIYers, but following these steps will make the task easier.
Detach the Water Supply Lines
Using an adjustable wrench, disconnect the hot and cold water supply lines from the faucet. Be sure to have your bucket ready, as some water will likely spill when you loosen the connections. The lines are generally connected to the bottom of the faucet, so be prepared to work in a tight area.
Disconnect the Mounting Hardware
Underneath the sink, you’ll find mounting nuts holding the faucet in place. These nuts secure the faucet to the sink and are often tricky to reach.
Use a basin wrench to loosen these nuts, as it is designed specifically for tight, awkward spaces under sinks. You may also encounter a mounting plate that needs to be removed.
Lift Out the Old Faucet
Once the mounting nuts are removed, lift the old faucet up and out of the sink. If it doesn’t budge, it may be held by old plumber’s putty or mineral deposits—gently wiggle the faucet until it comes free. If the faucet is still stuck, use a putty knife to break the seal between the faucet and the sink when learning how to replace kitchen faucet.
Removing an old faucet may be tricky if bolts are corroded or hard to reach. You can use penetrating oil to loosen these bolts or a hacksaw to cut through stubborn bolts. Once the old faucet is out, make sure to clean the area thoroughly before proceeding to the next step.
Prepping for the New Faucet
Before installing the new faucet, you need to prep the sink area to ensure a proper fit. Preparing the area well will help avoid leaks and ensure the faucet sits securely.
Use a putty knife or a scraper to remove old plumber’s putty or grime from the sink surface. You want a clean, smooth surface for the new faucet, as this ensures a proper seal and prevents leaks.
Next, make sure that the holes in your sink match the configuration of the new faucet.
Most faucets come with plates to cover extra holes if necessary. When learning how to replace kitchen faucet, ensure that your sink configuration matches whether you’re upgrading from a single-handle faucet to a double-handle or vice versa.
Finally, wrap Teflon tape around the threads of the faucet connections to help prevent leaks once everything is reconnected.
This is a crucial step in ensuring that there are no leaks at the water supply connections.
Installing the New Faucet
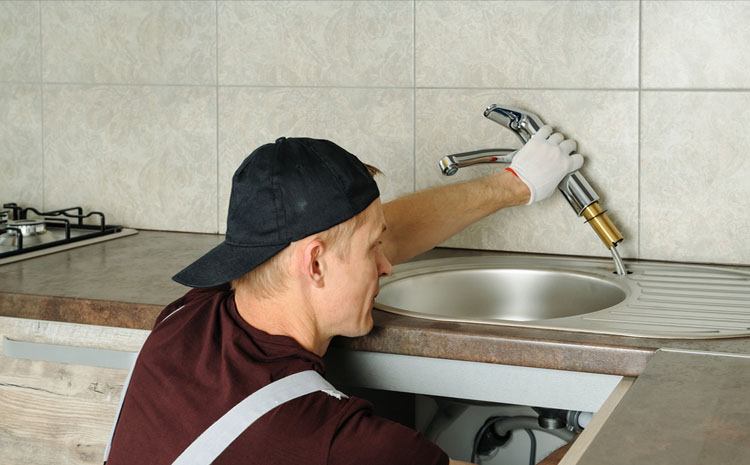 Now that your workspace is prepped and ready, it’s time to install the new faucet. Installation can vary slightly depending on the type of faucet you purchased, but the general steps are the same.
Step 1 – Positioning the New Faucet
Place the new faucet into the sink holes, ensuring it is centered for a balanced look. Make sure the faucet base is positioned correctly and sits evenly.
Some faucets have gaskets that need to be placed between the faucet and the sink, while others require the use of plumber’s putty.
Single-handle faucets are typically easier to install because there’s only one main component to deal with. Ensure that the faucet is aligned properly, with the handle facing forward. When learning how to replace kitchen faucet, ensure you align both handles and the spout accurately during the installation of a double-handle faucet.
Positioning is key to make sure all parts fit into the holes correctly.
Step 2 – Connecting the Mounting Hardware
Under the sink, use the provided mounting nuts to secure the faucet in place. Hand-tighten these nuts at first, then use a basin wrench to give them an additional quarter turn. Be careful not to overtighten, as this can damage the sink or the faucet.
If your faucet comes with a metal or plastic baseplate, ensure that it sits flush with the sink surface before tightening the mounting nuts. It’s crucial that the baseplate is secure to prevent water from seeping under it.
Step 3 – Attaching Water Supply Lines
Connect the hot and cold water supply lines to the corresponding inlets on the faucet. Tighten them with an adjustable wrench—do not overtighten, as this can damage the components. If your new faucet came with integrated supply lines, simply attach these to the shut-off valves under the sink.
If the supply lines aren’t color-coded, remember that the hot water supply is usually on the left side, and the cold water is on the right. Double-check to ensure that the correct lines are connected.
Step 4 – Applying Plumber’s Putty (If Required)
If your faucet requires plumber’s putty, apply it around the base before tightening it down. This putty will create a watertight seal between the faucet and the sink surface.
Take a small amount of putty and roll it into a thin rope. Place it around the base of the faucet before inserting it into the sink holes. As you tighten the faucet down, excess putty will squeeze out—wipe this away with a damp cloth.
The installation for single-handle faucets is straightforward, making it easier when learning how to replace kitchen faucet. Double-handle faucets will have separate connections for both hot and cold water, which adds an extra step. Make sure everything is aligned properly before tightening all connections.
Testing and Troubleshooting
After the faucet is installed, it’s time to test your work. Testing is a crucial part of the installation process, as it helps ensure everything is functioning as expected.
Turn on the shut-off valves slowly and check for leaks at all connections. If a leak is found, shut off the water and adjust. Turn on the faucet, run both hot and cold water, and inspect connections for leaks, especially where supply lines meet the faucet and shut-off valves.
If water pressure is low, unscrew and clean the aerator at the end of the faucet to remove any debris. If there are leaks, turn off the water, tighten connections, and use extra Teflon tape if needed.
Final Touches and Clean-up
Once you’re sure everything is working properly, it’s time to clean up and make the final touches to your installation. Gather the old faucet, supply lines, and other components, and dispose of them properly—consider recycling the metal parts to be environmentally friendly.
Many recycling centers accept metal parts, and it’s always a good idea to recycle when possible. Clean the sink and faucet to remove any plumber’s putty, fingerprints, or water spots, ensuring your project on how to replace kitchen faucet looks polished and complete.
After an hour or so, it’s a good idea to re-check all the connections to ensure no leaks have developed. The vibrations from the water flow can sometimes cause fittings to loosen.
Tips for Choosing a Kitchen Faucet
If you haven’t yet purchased a new faucet or are planning another upgrade, here are some helpful tips for choosing the best one for your kitchen.
Faucet types vary based on your needs, pull-down faucets are popular for their versatility, while pull-out faucets are great for smaller sinks, and touchless faucets offer convenience, especially for busy kitchens. You should consider how you use your kitchen sink and choose accordingly.
The style and finish of the faucet should complement your kitchen decor—brushed nickel, chrome, and matte black are all popular finishes. Ideally, the finish should match or complement other fixtures in your kitchen, such as cabinet hardware, to create a cohesive look.
In terms of durability, make sure to choose a faucet made of high-quality materials like brass or stainless steel, which ensures it will last a long time.
While plastic faucets are more budget-friendly, they are generally less durable compared to metal options, which is an important consideration when learning how to replace kitchen faucet effectively. Modern faucets come with various features, such as magnetic docking for sprayers, spray/stream modes, and even LED lights that indicate water temperature.
Think about which features would make your kitchen tasks easier and more enjoyable.
Maintenance Tips to Extend Faucet Life
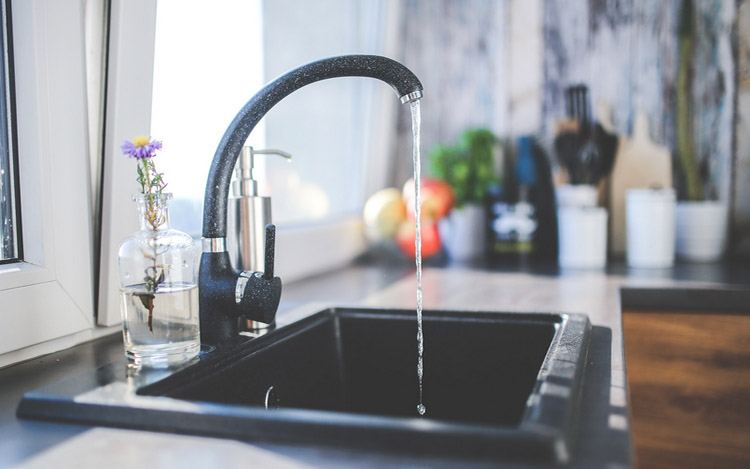 To keep your new kitchen faucet in top condition, it’s important to maintain it properly. Regular maintenance can help prevent issues and extend the lifespan of your faucet. Wipe down the faucet regularly to prevent the buildup of water spots or grime, and avoid using harsh chemicals that could damage the finish.
A gentle soap and water solution works best for routine cleaning. Periodically check for leaks, particularly around the base and supply lines.
Catching small leaks early can prevent bigger problems later. Often, a leak at the base can indicate that the mounting hardware has loosened. Check the aerator at the end of the faucet spout every few months, as it can become clogged over time.
Remove it and clean it every few months to ensure a steady water flow, and soak it in a vinegar solution if there is significant mineral buildup. When turning the handles, avoid using excessive force.
Tightening too hard can damage the internal components and cause leaks. Faucets are designed to operate with minimal effort, and forcing them can cause wear.
Replacing a kitchen faucet may seem daunting at first, but with the right tools, preparation, and instructions, it is a manageable DIY project for most homeowners.
Learning how to replace kitchen faucet not only saves you money but also lets you customize your kitchen to match your needs and style.
With this step-by-step guide, you can confidently tackle your kitchen faucet replacement and enjoy the satisfaction of completing a rewarding home improvement project.
Whether you are upgrading to a new look or simply fixing a problem, replacing your own faucet is an empowering way to improve your space.
Take your time, follow each step carefully, and soon enough, you’ll be proud to say you did it yourself! A new faucet not only improves functionality but also adds a fresh, clean aesthetic to your kitchen, making it a space you can enjoy even more.

