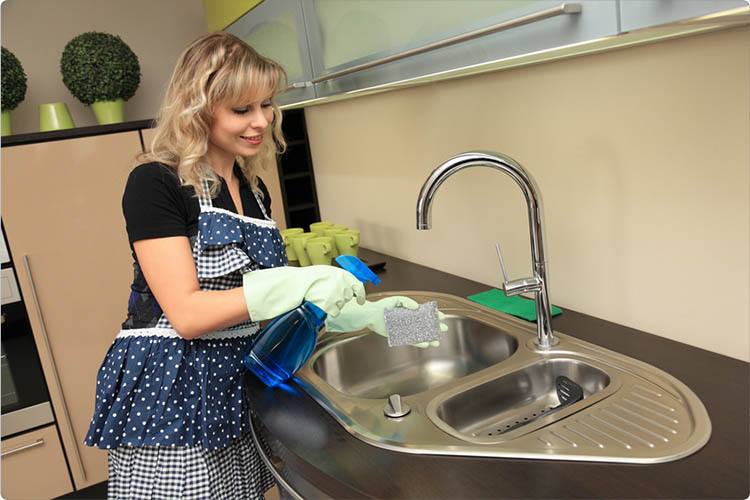
A clean sink not only looks better but also helps create a safer kitchen environment. This guide will take you through everything you need to know about how to clean a kitchen sink effectively and maintain its cleanliness for longer.
Ironically, while it may seem like the cleanest part of your kitchen due to frequent water exposure, the sink is a hotspot for bacteria, grime, and even mold.
Keeping your kitchen sink clean is crucial for food safety, preventing bad odors, and maintaining hygiene.
From choosing the right cleaning supplies to understanding how to adapt your cleaning routine depending on the sink’s material, you’ll learn practical steps to keep your kitchen sink sparkling clean. Ready to make your kitchen shine? Let’s dive in!
Understanding Your Sink Material
Before jumping into the cleaning process, it is essential to understand your sink’s material. Kitchen sinks come in different materials, each with its own specific needs.
Whether it’s a stainless steel sink, a porcelain sink, or a granite composite sink, selecting the proper cleaning methods will help keep it in top condition without causing damage. Knowing the exact material is crucial for determining the best cleaning products and avoiding unnecessary damage.
Stainless Steel Sinks
Stainless steel sinks are incredibly popular due to their durability, resistance to stains, and affordability. However, they do need specific care to maintain their shine.
Avoid using abrasive scrubbers, as they can scratch the surface. Opt for soft sponges and gentle cleaners, which are more suitable for keeping a stainless steel sink gleaming. To prevent water spots, make sure you thoroughly dry the surface after every use.
How to Deep Clean Stainless Steel Sinks
- Sprinkle baking soda evenly over the sink surface and let it sit for a few minutes. This helps to loosen up stains without being too harsh on the metal;
- Use a gentle sponge to scrub in circular motions, paying particular attention to any visible stains or hard-water deposits;
- After scrubbing, rinse the sink with warm water and make sure no residue remains;
- Use a microfiber cloth with a few drops of olive oil or a stainless steel polish to buff the sink. This will help eliminate any streaks and restore the original luster.
Porcelain Sinks
Porcelain sinks add a beautiful, classic touch to any kitchen, but if not properly maintained, they can be prone to scratching and staining. Learn how to clean a kitchen sink to keep it looking pristine.
For cleaning porcelain sinks, you will need a non-abrasive sponge, mild dish soap, and warm water. Avoid bleach as it can degrade the surface over time and cause discoloration. Porcelain requires special care to ensure that its glossy finish is maintained without any scratches or stains.
Steps to Safely Clean Porcelain Sinks
- Mix warm water with a mild dish soap in a small bucket. Dip a non-abrasive sponge in the soapy water and scrub the sink thoroughly;
- For tougher stains, create a paste with baking soda and water. Apply it to the stained area and let it sit for 10 minutes before scrubbing gently;
- After removing the stains, rinse the sink with warm water, and buff it dry using a microfiber cloth to prevent water spots.
Granite Composite Sinks
Granite composite sinks are trendy due to their modern appearance and durability. They are resistant to most stains and scratches but still require special care. Use non-abrasive cleaning agents, and be sure to thoroughly rinse away all cleaning products to avoid damaging the sink’s protective coating.
Avoid leaving acidic substances such as lemon juice or vinegar on the surface, as they can dull the finish.
Special Considerations for Granite Composite Sinks
- Use pH-neutral cleaners specifically designed for granite and stone surfaces to avoid damaging the sink;
- Never use abrasive pads or scouring agents, as they can wear down the surface coating and lead to dull spots;
- Always dry the sink after cleaning to prevent any water from evaporating and leaving mineral deposits.
Tools and Supplies You Need
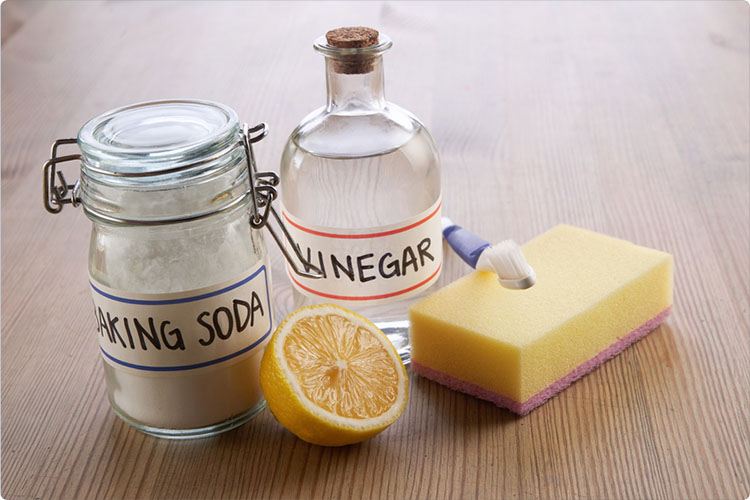 To clean your kitchen sink effectively, you will need a set of tools and cleaning products. While commercial cleaning agents are widely available, there are also excellent eco-friendly alternatives that you can use for regular maintenance.
Essential Cleaning Tools
- Soft sponges and scrubbing pads – Great for scrubbing away food debris without scratching the surface;
- Microfiber cloths – Perfect for polishing the sink and ensuring it remains streak-free;
- Brushes with small bristles – To help clean around the edges and faucet area;
- Old toothbrush – Helpful for cleaning hard-to-reach areas such as around faucet bases and drain covers.
Cleaning Agents
- Dish soap – Ideal for everyday cleaning;
- Baking soda and vinegar – Non-toxic products that make excellent cleaners for deep cleaning;
- Lemon – Great for removing stains and deodorizing naturally;
- Commercial cleaners – Specific cleaners made for certain types of sink materials;
- Essential oils – These can be added to cleaning mixtures for additional antibacterial properties and a pleasant scent.
If you’re looking for an eco-friendly option, consider using baking soda and vinegar as a versatile cleaning solution. This combination is safe for most sink materials. This combination is highly effective at cutting through grime and eliminating odors.
Step-by-Step Cleaning Process
Daily Cleaning Routine
A clean kitchen sink requires consistent care. Incorporate a quick daily cleaning routine to maintain your sink’s condition.
- Rinse After Each Use – After washing dishes, rinse the sink thoroughly with warm water. This will prevent soap scum and food particles from drying on the surface. Keeping the sink clean after every use helps in avoiding future buildup;
- Use Dish Soap and a Sponge – Wipe down the entire sink with a soft sponge and a small amount of dish soap. Focus on the edges, faucet area, and drain. The dish soap will break down any grease or residues left behind;
- Rinse and Dry – Rinse with warm water and dry the surface using a microfiber cloth to avoid water spots. For stainless steel sinks, this is crucial to keeping them looking spotless.
Deep Cleaning Process
For a more comprehensive approach, you should deep clean your kitchen sink once a week. This process will ensure that all stains, buildup, and bacteria are effectively removed.
- Remove Food Debris – Begin by removing any food debris or solid particles stuck in the sink. Clean the drain cover and make sure there are no leftover scraps to clog your drain;
- Apply Baking Soda – Sprinkle a generous layer of baking soda over the entire sink. Baking soda is slightly abrasive, allowing it to lift stubborn dirt and stains without scratching the surface;
- Scrub the Sink – Using a sponge or a brush, scrub the sink thoroughly. Pay attention to the corners, around the drain, and near the faucet, where grime tends to accumulate;
- Add Vinegar – Pour white vinegar into the sink. The combination of vinegar and baking soda will create a fizzy reaction, which helps lift stubborn grime while also disinfecting the sink. Vinegar is a natural disinfectant that helps in eliminating harmful bacteria;
- Rinse Thoroughly – Rinse away the baking soda and vinegar with warm water until all residue is gone;
- Polish the Surface – To polish a stainless steel sink, apply a small amount of olive oil or stainless steel cleaner to a microfiber cloth and wipe the sink. This will create a glossy finish and prevent streaks.
Cleaning Around the Faucet and Handles
The area around the faucet and handles often accumulates grime, soap scum, and hard water stains. Use a small brush with soft bristles (such as an old toothbrush) to scrub around these areas thoroughly.
Apply a small amount of baking soda to the brush and scrub gently, ensuring all tight spaces are clean. Rinse with warm water and dry thoroughly to prevent water spots.
To address any mineral buildup, soak a cloth in white vinegar and wrap it around the base of the faucet for 20 minutes. The vinegar will break down mineral deposits, making it easy to wipe them away.
Cleaning the Drain and Garbage Disposal
Cleaning the drain and garbage disposal is essential to keep your kitchen sink smelling fresh and prevent buildup that can lead to blockages.
- Baking Soda and Vinegar Treatment – Pour half a cup of baking soda down the drain, followed by half a cup of vinegar. Let the mixture fizz for about five minutes, then flush with boiling water. This will help break down buildup and sanitize the drain;
- Use Ice and Lemon for the Garbage Disposal – If you have a garbage disposal, drop a handful of ice cubes and a few lemon slices into the disposal. Run cold water and turn on the disposal to grind the ice and lemon. The ice helps dislodge any buildup on the blades, while the lemon freshens the disposal.
Odor Removal Tips
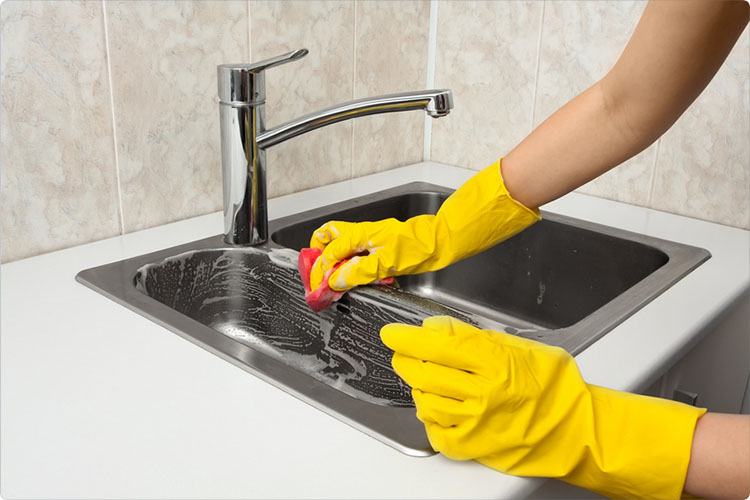 Kitchen sinks often develop unpleasant smells from leftover food and residue. By using effective odor removal techniques, you can keep your kitchen smelling fresh.
The following methods will help you quickly and naturally eliminate unwanted smells from your sink.
Lemon for Freshness
Odors can be a common problem in kitchen sinks due to food scraps and leftover debris. Lemon is a natural and easy way to combat unpleasant smells.
To learn how to clean a kitchen sink, cut a lemon in half, rub it over the sink surface, and focus on the drain area to neutralize any lingering odor, leaving both a clean surface and a fresh citrus scent.
Baking Soda and Vinegar Method
Another excellent method for odor removal is using a mix of bakin soda and vinegar.
Sprinkle baking soda down the drain, pour in a small amount of vinegar, and let it fizz for a few minutes. This combination will break down food particles and leave your drain smelling fresh.
Using Essential Oils
Adding a few drops of essential oils, such as lemon, lavender, or tea tree oil, down the drain can also help combat unpleasant odors.
Essential oils have natural antibacterial properties and can leave a pleasant scent behind.
Simply add the drops, let them sit for a few minutes, and then rinse with warm water.
Preventative Measures & Maintenance Tips
Preventative maintenance is key to keeping your kitchen sink in great condition over time. By incorporating simple daily habits and using the right products, you can prevent buildup, stains, and odors, making deep cleaning easier and keeping your kitchen environment safe and hygienic.
Daily Habits for a Cleaner Sink
Maintaining a clean kitchen sink is about developing good daily habits. Always rinse your sink after use, and avoid letting dishes pile up for extended periods. Leftover food particles can cause staining and clogging, making it much harder to maintain the cleanliness of your sink.
Avoiding Common Mistakes
One of the most common mistakes is using harsh chemicals that can damage certain sink materials.
For example, bleach can cause porcelain sinks to weaken over time. Similarly, acidic cleaners should be avoided on granite composite sinks, as they can erode the protective coating. Stick to mild cleaners to ensure that your sink maintains its original look for as long as possible.
Preventing Clogs
To understand how to clean a kitchen sink, pour boiling water down the drain regularly to prevent clogs, eliminate odors, and keep the drainage system flowing smoothly.
Avoid disposing of oil, grease, or fibrous food scraps down the sink. Instead, collect these in a separate container and dispose of them properly. Regularly pouring boiling water down the drain can also help clear away minor clogs and residue buildup.
To further prevent clogs, use a drain cover or strainer to catch food scraps and prevent them from going down the drain. Clean the strainer regularly to avoid buildup.
Using Enzyme Cleaners
Enzyme-based drain cleaners are great for breaking down organic materials and maintaining a clean drain. Use an enzyme cleaner once a month to keep your drain clear and smelling fresh without harsh chemicals.
Advanced Cleaning Techniques for Tough Challenges
 Tough challenges call for tougher cleaning techniques. This section will provide you with advanced methods to deal with persistent stains, rust, mineral deposits, and stubborn clogs. These specialized techniques will ensure that your kitchen sink stays spotless, no matter what challenges come your way.
When regular cleaning isn’t enough, you need advanced techniques to tackle tough grime, stains, and other persistent issues. These methods will help ensure your sink is always looking its best, no matter the challenges.
Removing Hard Water Stains
If you have hard water, you might notice white or cloudy spots forming on your sink. To tackle these stains, make a paste with baking soda and water and apply it to the affected area.
Let it sit for about 10-15 minutes before scrubbing with a soft sponge. Rinse the area thoroughly to prevent further buildup.
For more stubborn hard water stains, you can use warm white vinegar for better effectiveness, especially on mineral deposits. Soak a cloth in white vinegar and lay it over the stained area for about 20 minutes. This will help dissolve the mineral deposits. Afterward, scrub gently with a sponge and rinse thoroughly.
Dealing with Rust
Rust stains can be challenging, especially for older sinks. To prevent rust, always dry your sink after each use to minimize water contact. To remove rust, you can use a mixture of lemon juice and salt.
Apply this mixture to the rusted area, let it sit for 30 minutes, and then scrub gently. This method is effective without being too abrasive on delicate sink materials.
For persistent rust spots, consider using a rust remover specifically designed for kitchen sinks. Always follow the manufacturer’s instructions and test the product on a small area first.
Unclogging Drains Safely
If you encounter a significant clog, avoid using harsh drain cleaners, which can damage pipes. Instead, use a natural solution such as baking soda and vinegar followed by hot water.
If the clog persists, it might be time to use a plunger or a plumbing snake.
For tips on how to clean a kitchen sink, start by using a plunger effectively: fill the sink with a few inches of water, position the plunger over the drain, and push down firmly several times to create suction and dislodge clogs. If this method doesn’t work, try using a plumbing snake to manually remove the blockage.
Maintaining Sink Accessories
Cleaning Faucet Aerators
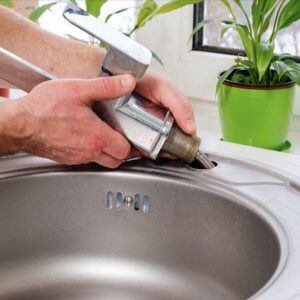
Faucet aerators can become clogged with mineral deposits, reducing water flow. To clean an aerator, unscrew it from the faucet, disassemble it, and soak the parts in white vinegar for 30 minutes. Scrub gently with a toothbrush and reassemble before attaching it back to the faucet.
Maintaining the Drain Cover
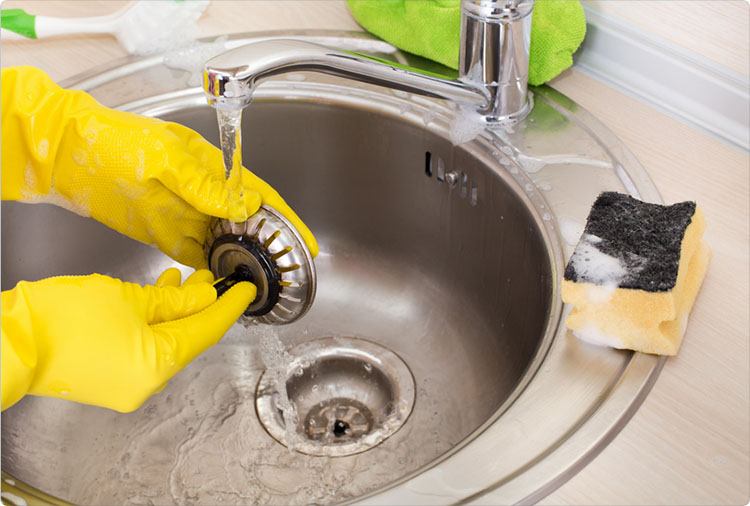
Drain covers should be cleaned regularly to prevent buildup that can lead to odors or slow drainage. Remove the drain cover, scrub with baking soda and a brush, rinse thoroughly, and place it back in the sink.
Keep Your Kitchen Sink Sparkling Clean
Learning how to clean a kitchen sink is crucial to maintaining a clean, functional kitchen. A clean sink isn’t just about removing visible grime – it’s about ensuring your family’s health and well-being by eliminating hidden bacteria and preventing unpleasant odors.
By following the daily cleaning routines and weekly deep cleaning practices discussed in this guide, such as rinsing, scrubbing, and polishing, you can keep your sink clean and welcoming.
From regular rinsing to deep scrubbing, cleaning the drain, and tackling tough stains, these practical steps will transform your kitchen sink into a sparkling centerpiece. By understanding your sink material, choosing the appropriate cleaning products, and maintaining good cleaning habits, you will keep your kitchen sink fresh, shiny, and functional for years to come.
Keeping up with preventative maintenance, using the right tools, and developing good habits will ensure that your sink is not just clean, but also a place you feel proud to use.

